The Ultimate Guide to Electrical Window Shutter Installation: Enhance Your Home’s Value and Security
Are you looking to give your home a fresh, modern look while improving privacy? Window shutter installation is one of the best investments a homeowner can make. Unlike thin curtains or plastic blinds, shutters provide a permanent, stylish, and durable solution for any room.
Whether you want to install window shutters indoor for a cozy living room vibe or you are looking into the technical side of installing shutters on windows, this guide covers everything you need to know.
Why Choose Window Shutters Over Regular Blinds?
Before we dive into the "how-to," it is important to understand why shutters are the superior choice for modern homes.
Superior Insulation: Shutters act as an extra layer of protection. They keep the heat inside during winter and reflect sunlight during summer, helping you save on energy bills.
Increased Privacy: You can adjust the louvers (slats) to let light in while completely blocking the view from the outside.
Durability: High-quality wood or PVC shutters can last for decades, unlike blinds that tangle or break easily.
Boosted Property Value: Since they are permanent fixtures, shutters are often seen as an upgrade by real estate experts.
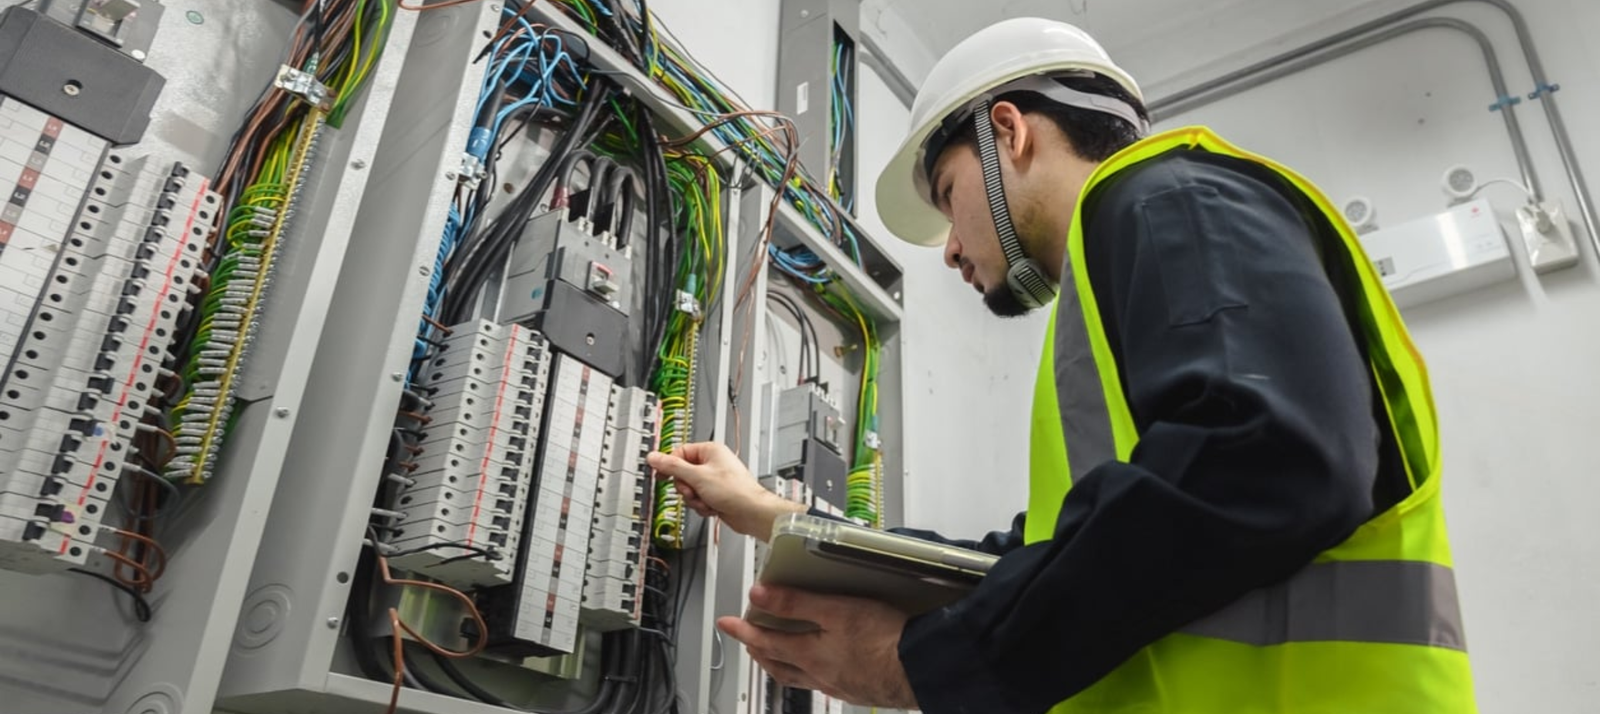
If you are planning a full home renovation that includes electrical upgrades or smart home features for motorized shutters, you can always rely on the experts at Urgent Electrical Services to handle the wiring and safety checks.
Different Types of Indoor Shutters
When you decide to install window shutters indoor, you have several styles to choose from. Each serves a different functional and aesthetic purpose:
1. Full Height Shutters
These cover the entire window from top to bottom. They provide a clean, uniform look and are perfect for large windows in bedrooms or dining areas.
2. Tier-on-Tier Shutters
These consist of two separate panels—one for the top half and one for the bottom. You can open the top to let in light while keeping the bottom closed for privacy.
3. Café Style Shutters
Inspired by French cafés, these only cover the bottom half of the window. They are ideal for street-level rooms where you want light but don't want people looking in.
Step-by-Step Guide: Installing Shutters on Windows
Many homeowners wonder if they can handle the installation themselves. While it requires precision, installing shutters on windows is manageable if you follow these steps:
Step 1: Accurate Measurement
This is the most critical part. Measure the width and height of your window frame in three different places (top, middle, bottom). Use the smallest measurement to ensure the shutter frame fits.
Step 2: Choosing the Mount (Inside vs. Outside)
Inside Mount: The shutter sits inside the window recess. This looks sleek but requires a deep enough frame.
Outside Mount: The shutter is fixed to the wall outside the window. This is used if the window is shallow or has obstructions like handles.
Step 3: Assembling the Shutter Frame
Lay the frame pieces on a flat surface (use a rug to avoid scratches). Most modern kits use "Hoffman keys" or simple screws to join the corners together.
Step 4: Fixing the Frame to the Window
Place the frame into the window. Use a spirit level to make sure it is perfectly straight. Drill pilot holes and secure the frame with screws. If there are gaps, you can use "shims" or decorators' caulk for a flush finish.
Step 5: Hanging the Shutter Panels
Once the frame is secure, simply drop the shutter panels onto the hinges. Check that they open and close smoothly without rubbing against the frame.
Maintenance and Care Tips
Once your window shutter installation is complete, maintaining them is easy:
Dusting: Use a microfiber cloth once a week to wipe the louvers.
Deep Cleaning: Use a damp cloth with mild soap for PVC shutters. For wooden shutters, use specialized wood cleaner to avoid warping.
Check Hinges: Every few months, check the screws on the hinges. If they feel loose, tighten them slightly to prevent the panels from sagging.